My office has been bothering me for awhile. I don’t spend a lot of time in it except to do my makeup but that is mostly because I feel like it was always a mess. It stores all my receipts and important documents, it has my printer and desk items. It also stores all my craft supplies, like my knitting yarn, my sewing fabric, my sewing machine and all paper supplies.
The hard part is incorporating all those things without feeling cluttered or messy. The room also had a lot of furniture and supplies I acquired along the way and nothing really matched and coordinated.
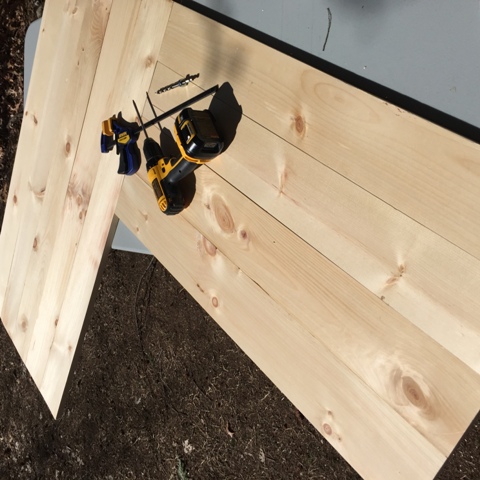
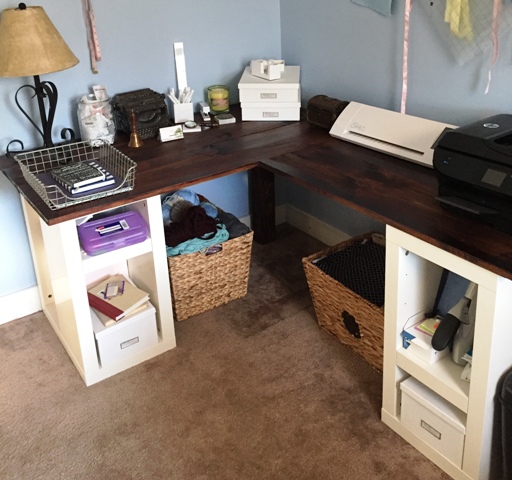
My idea was to really pair down this room, make it more efficient and also a little more grown up. The first part of this makeover was a new desk, since I couldn’t even fit my printer on the desk. This room already had two desks, but with that I lost a lot of floor space. This L shaped desk really frees up a lot of room and lets everything be a little more spread out.
This was also my first project using my new Kreg Jig and it will get used a lot so it was worth the $30+ for the kit.
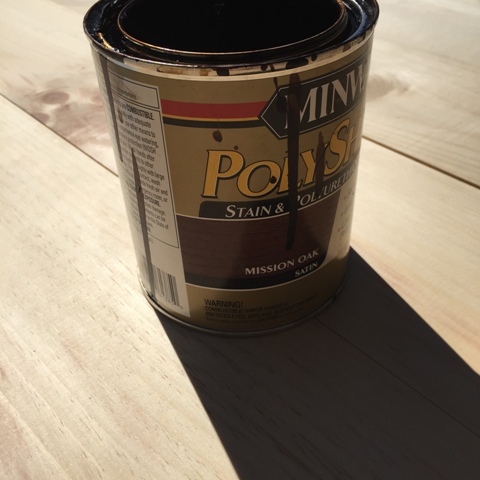
Supplies: Qty 5 1x6x8 boards (cut so you have 5 boards measuring 52″ and 4 cut to measure 40″ – you’ll have leftover wood) ~ Kreg Jig ~ 2 adjustable clamps ~ 1-1/12 inch pocket screws (Package of 50) ~ 1 4x4x6 lumber ~ drill ~ sanding block ~ stain of choice ~ paintbrush ~ Two Vika Annefors Table legs/Bookcases (previously purchased from Ikea)
If you get Lowe’s or Home Depot cut the wood to size for you, then you have completed half the battle, otherwise cut boards to size. Next lay out your 52″ boards, using the jig place the two “feet” against the edge of the board and secure with the clamp.
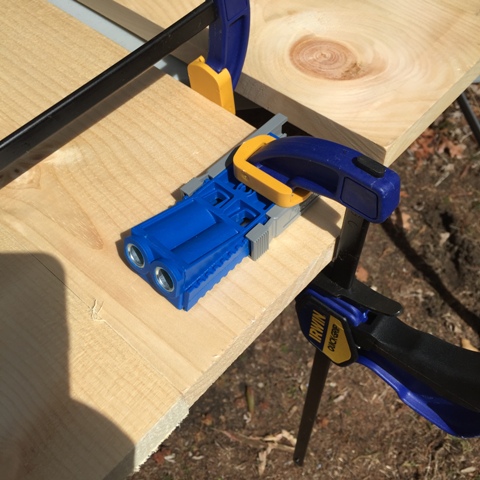
Drill through the jig guides. Remove the clamps and move to the middle and then the other side of the board and repeat. This will give you two pocket holes on the left side, 2 in the middle and 2 on the right side. Repeat on 3 more boards, the last board will not need pocket holes.
Repeat the same process on 3 of the 40″ boards.
Line up the 52″ section with the 40″ section. Where the board meet mark off the location for at least 4 places. Then using the jig drill the pocket holes into the 52″ boards. It should be a backwards, so that when you flip it over it will be the right directions.
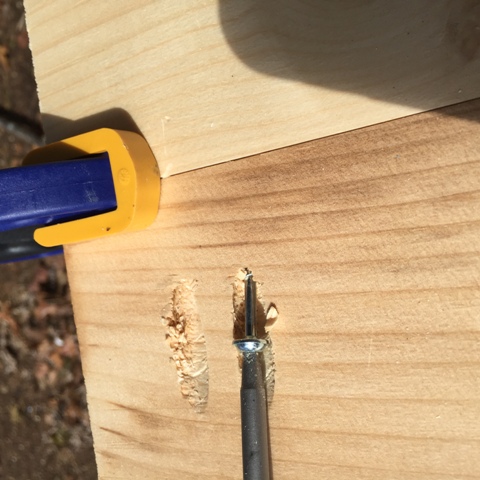
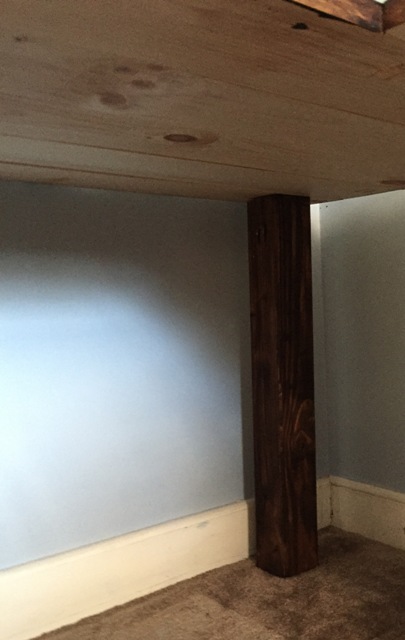
Drill pocket holes into the 4×4 lumber on two opposite sides. Using a dry paint brush clean up all the dust from the pocket holes. Now using the jig’s drill attachment use the 1-1/2 pocket screws to assemble the 52″ boards together, then the 40″ boards together, then the two sections together.


you did an amazing job!! i love that you can built legit stuff that you can actually USE and building furniture is such an awesome skill!
Thank you! I am learning so much the more I do and I am really loving it!
Kerry – you did such an amazing job!! I love that you picked an L shape and it turned out fantastic! xo, Biana
Thank you so much. The L shape really gave me so much more room than the old desk.
God bless you! Just beautiful!!!!
Saws scare me. I am not the most careful person in the world. I was always in a hurry for so many years !
LOL!!
Keep on building and organizing!
Love,SMD’sMomma
Thank you! I was worried of losing a finger or two at first but so far so good. 🙂
That looks awesome! I love seeing a project all the way through like this. It feels so good, especially to have done it yourself. Very cool!
Yes, I really love being able to think it up and then put it together. So fulfilling. Thank you.
You are amazing! That looks awesome!
Thank you.I am so glad to have the extra space!
You are so talented and creative! Thanks for the tutorial, I might have to make one for my office!
Thank you so much!! I love being able to turn an idea into an actual item. That would be awesome!
this is amazing! there is no way i could ever make this (don’t have the right tools anyway) but i just love it!
Thank you. You could always get someone else to make it for you! 😉
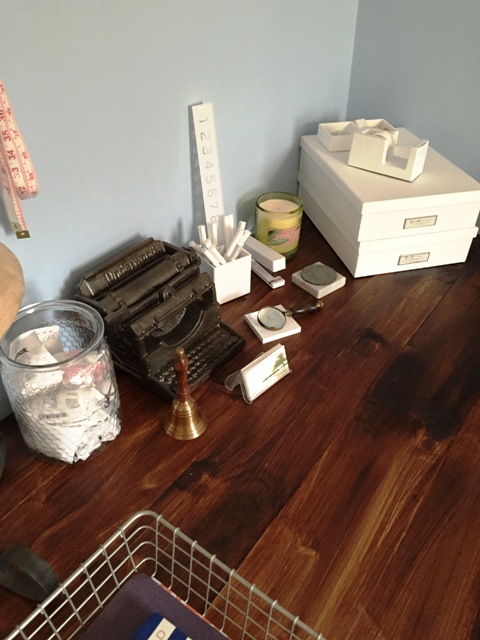
You seriously did an amazing job! Love the wood and white contrasts!!
Thank you. Yes, they play of each other so well.
Great work!
I love how there’s extra storage in the legs from Ikea. It’s a shame they’re discontinued!
I love having the extra space in the legs. The link actually takes you to a place where you can still order them just not from Ikea.
Love it! Turned out great! Now please come build one for me lol… I’ll cook you food
Haha! That is good incentive!
Love it! You really should think about selling some of the stuff you build once you run out of space in your own home. 🙂
Awww thanks. You are too kind.
I love the bookcase legs!!! I used to be all about making stuff but lately….
Adds so much storage. Hopefully some inspiration strikes.
Wow! i love how it turned out! love the shelves you put into the desk as well.
Thank you so much. They were actually from the old desk, I just swapped out the top for the one I built. 🙂
You did such an amazing job on this and your make up table!!!! Huge props to you for legit building your own furniture!!!!
Thank you. I am so proud of them and looking forward to making more pieces.
Wow, looks amazing!
Thank you!
You did such a great job! Well done!
Thank you. I am really proud of it.
This is such a great idea! You did beautiful work!!
Thank you so much! I am so happy with how it came out.
Gah. I’m jealous. This is bad ass! I love the L shape!!!!!
Thank you!! I am loving making all these things. I want to make a new Entertainment stand and a buffet for my dining room, then maybe new countertops for my kitchen. Feeling maybe a little braver than my talent but oh well.
Disregard last comment about stain (sorry, just catching up on blogs). This is the same stain you used for the table in the post before, correct?
Haha! No worries. I was reading them in sequence too. It is the same stain. I wanted it to all match, which is the benefit of building it yourself! 😉
Basically what I had in mind for my desk….only I thought of using two short file cabinets on each end. Thanks for sharing this, now I know what mine will look like,