Happy Thursday everyone!! I have been a little MIA lately due to being a little busy and having some tummy trouble. I promise to be back in action soon. I was really excited to do this project as I pinned it awhile ago with the intention of making it for my Dad for his birthday and when that didn’t happen I knew I needed to get it done for Father’s Day.
My Dad is a Vietnam vet and when I was little he used to make my brother and me stand when the National Anthem was played during sports events on TV. It was a big deal as it should be. I still cry every time the National Anthem is playing knowing how much it means to my father but also to those who have sacrificied for our country. Hearing my Dad say that he liked it and that it came out good, was really all that mattered, but I hope you like it too. The inspiration for this project can be found here.
Supplies: Pine Panel 1-in x 16-in x 72-in cut in half, the cut half into 24 (w) x 8 (h) ~ Valspar Sample Paint in Mineral Blue EB6-1 ~ Valspar Sample Paint in Fabulous Red 1011-2 ~ Valspar Sample Paint in Du Jour ~ 8″ Mending Plate x3 ~ Bag of 8 x 3/4 wood screws Qty 12 ~ Star shaped stencil ~ Foam stamper ~ paint brushes ~ Measuring tape or ruler ~ Pencil ~ sandpaper ~ painter’s tape ~ pliers or screwdriver to distress wood
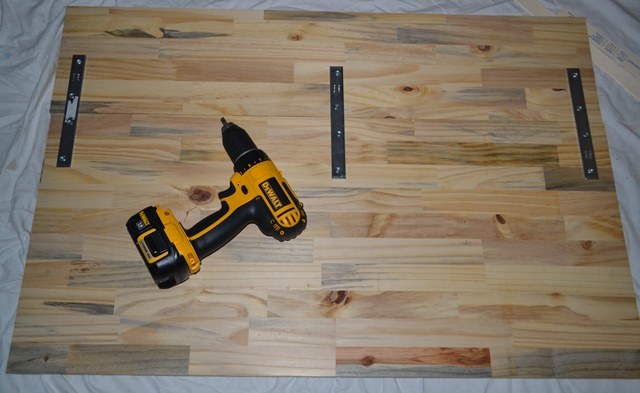
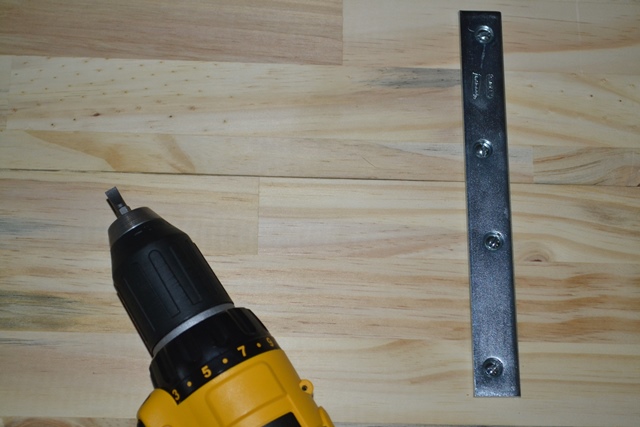
1. Take your two pieces of wood and line up the sides. Place the mending plates about 3″ from the ends and one in the center. No need to be exact. Then using the screws secure top two holes in the top board and bottom two holes on the bottom piece of wood to secure together. Repeat with the other two mending bars.
2. Turn the board over and using pliers or screwdriver make random cuts and digs into the wood to create an aged appearance. This is completely optional but I think it adds to the final look.
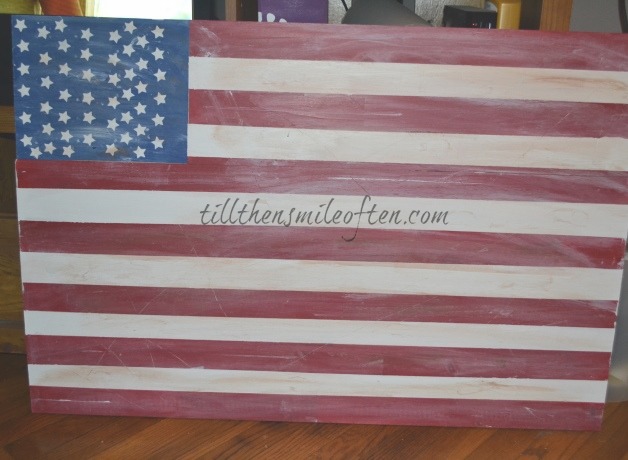
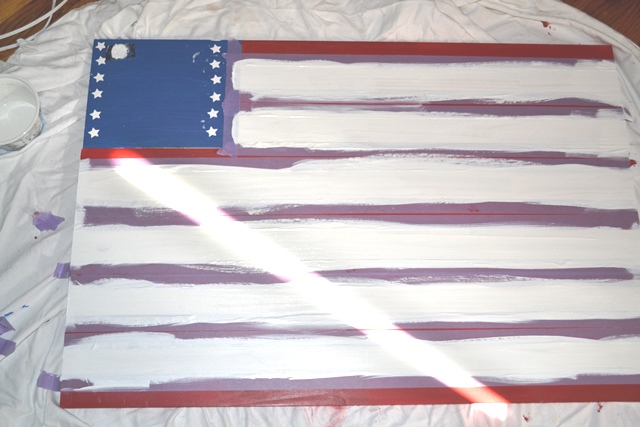
3. Measure and mark out the blue square which will be 10 (w) x 8 (h) from the upper left hand corner of the board. Then measure and mark in pencil the red stripes. You should be starting with red at the top of the flag. You will need a total of 7 red stripes and 6 white stripes. For the red stripes I did some of the stripes at 2″ and some at 1-3/4″ since it is an odd number of stripes it doesn’t come out to an even number across the wood.
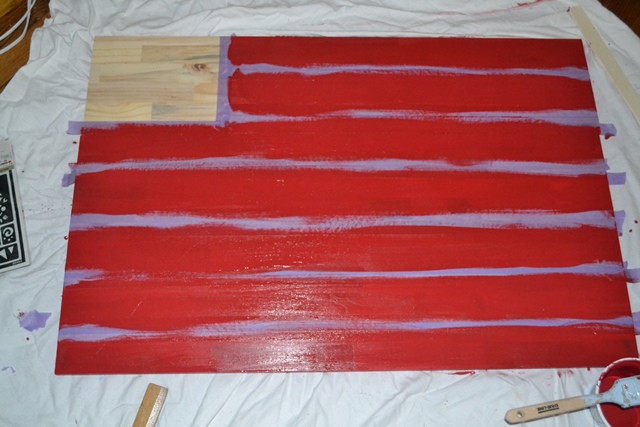
4. Place your tape on the inside of the white sections then paint the red sections. I painted each stripe and then immediately painted a second coat. Allow to dry for about 30-60 minutes. Peel off tape.
5. Tape off the blue section and paint, I did two coats.
6. Place tape on the red stripes, and paint the white stripes. I immediately did a second coat. Allow to dry for about 30-60 minutes.
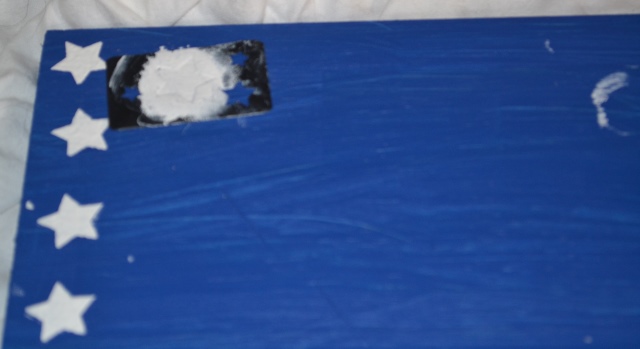
7. Once the blue section is dry take the star stencil and begin adding your stars. My stencil was a stick on so it was perfect for staying in place and not leaking. I wasn’t particular on begin completely straight, at this point my knees were killing me! I did rows of 6 down and staggered them from row to row and then needed to stick a few randomly to make the 50 stars fit. I think the standard flag has 6 rows of 5 stars and 5 rows of 4 stars. Once all 50 stars are on the board allow to dry.
7. I wanted it to look a little rustic and old so I painted some of the white paint over the red stripes and blue square. Then wiped over it with a wet rag. Don’t wipe it all away just smooth it around. I also added some brown acrylic paint to the white to rough it up. You can also run some sandpaper over it to scuff up the finish.
If you haven’t already, follow me on Pinterest here.
Now head on over to our two co-hosts Steph and Katie. Be sure to check out all the other pin inspired projects completed.





Leave a Reply